Tag Archives: fujifilm

A Lightroom and Capture One Workflow

Capture One is a program for capturing, processing and managing photos, and it’s used by many professional outfits, partly because it is good at the tethered shooting that often happens in a studio, partly because it’s made by Phase One (who also create some very nice and very expensive medium-format cameras), and partly because its underlying processing of RAW images is amongst the best available anywhere.

In other words, if you have a good camera, you can often make your photos look rather better with Capture One than with, say, Lightroom, Aperture, iPhoto or Adobe Camera Raw, though it will cost you around 200 quid for the privilege.

However, for the normal importing, managing and editing of large numbers of images, I find Lightroom to be much faster, more capable and more reliable.

So here’s a little tutorial about how I set both apps up to allow images to be moved easily between them, so I can take advantage of the best bits of both.

Video also available on YouTube here.
Post-processing RAW for Fujifilm cameras

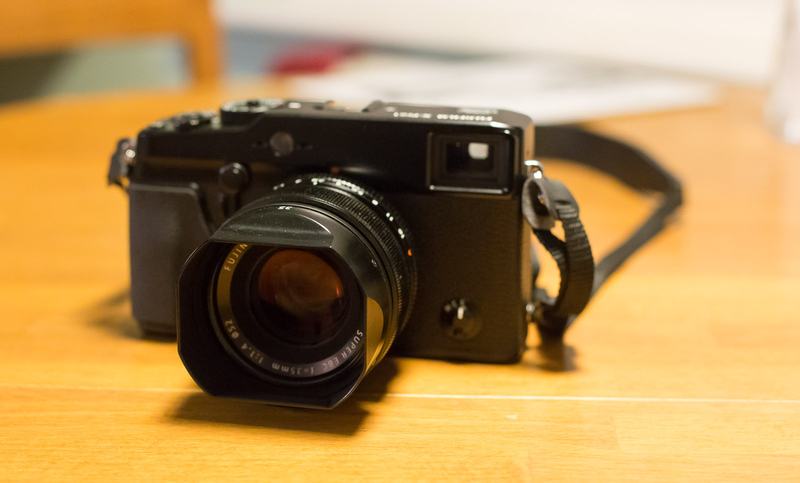
One thing for which the Fujifilm cameras (such as my beloved X-Pro1) are known is their impressive on-board JPEG converter, which can produce sufficiently yummy images that many people who would otherwise shoot RAW just stick to JPEG with these devices.

I, however, want to stick with RAW, and I found that getting the best out of it takes rather more initial tweaking with the Fuji cameras than it did, say, with my Canon. I eventually settled on a small boost to the saturation (+13), and quite a large amount of sharpening (+60), and saved that as a Lightroom preset which I now apply as I import any images coming from the X-Pro1.

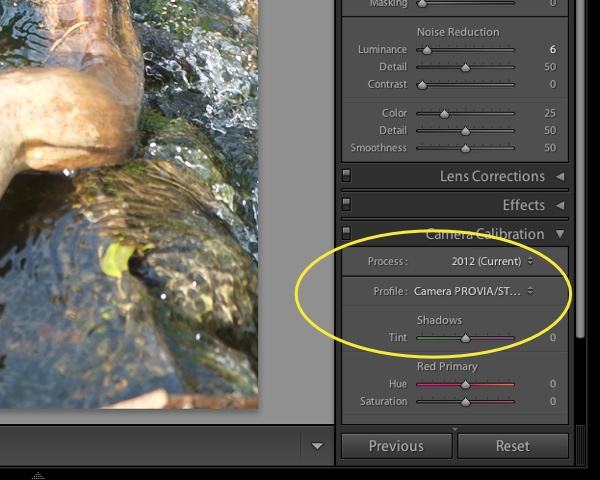
However, the biggest improvement came, I think, when Adobe Camera Raw (the engine behind Lightroom & Photoshop imports) was upgraded a couple of months ago. One of the easy-to-miss features was the inclusion of Fujifilm camera profiles which mimic the film emulation modes found in the camera. Even when I had upgraded and knew it was there, it was still a little tricky to find, but it’s under the Camera Calibration section of the Develop module:

Lightroom-provia-600

(click for full size)

I’ve found that experimenting with these profiles, and particularly using the VELVIA emulation while reducing my previous saturation setting a little, can bring much more richness to the colours.

© Copyright Quentin Stafford-Fraser