Post-processing RAW for Fujifilm cameras

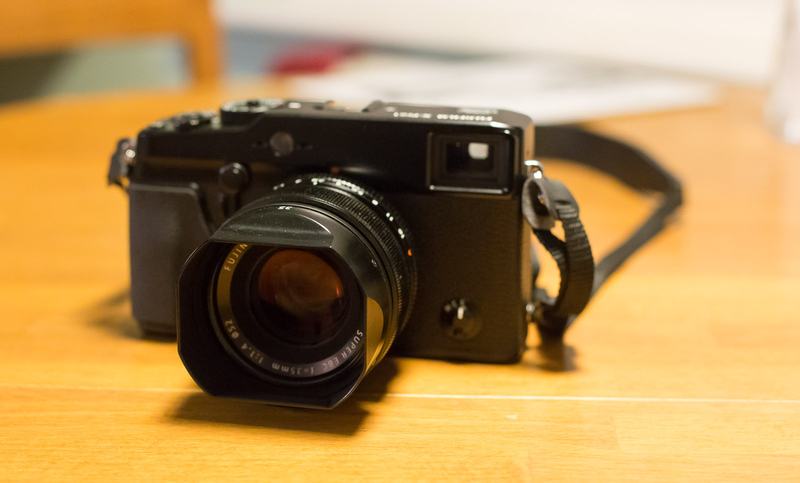
One thing for which the Fujifilm cameras (such as my beloved X-Pro1) are known is their impressive on-board JPEG converter, which can produce sufficiently yummy images that many people who would otherwise shoot RAW just stick to JPEG with these devices.
I, however, want to stick with RAW, and I found that getting the best out of it takes rather more initial tweaking with the Fuji cameras than it did, say, with my Canon. I eventually settled on a small boost to the saturation (+13), and quite a large amount of sharpening (+60), and saved that as a Lightroom preset which I now apply as I import any images coming from the X-Pro1.
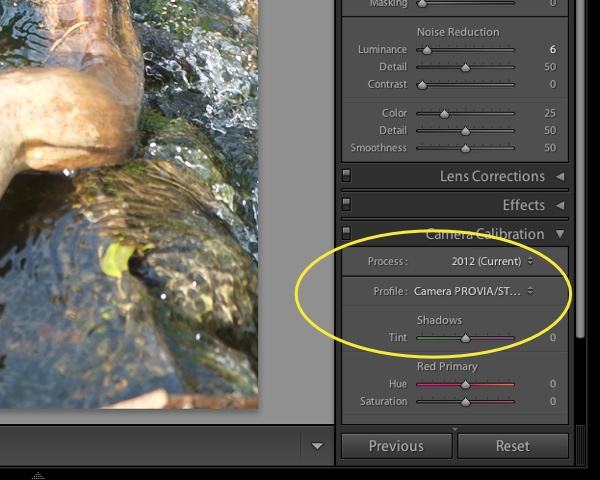
However, the biggest improvement came, I think, when Adobe Camera Raw (the engine behind Lightroom & Photoshop imports) was upgraded a couple of months ago. One of the easy-to-miss features was the inclusion of Fujifilm camera profiles which mimic the film emulation modes found in the camera. Even when I had upgraded and knew it was there, it was still a little tricky to find, but it's under the Camera Calibration section of the Develop module:
(click for full size)
I've found that experimenting with these profiles, and particularly using the VELVIA emulation while reducing my previous saturation setting a little, can bring much more richness to the colours.

Leave a Comment