Keep your Mac disks running smoothly
Hard disks, and the filing systems that run on them, occasionally get confused. This can happen for all sorts of reasons: bugs, power cuts, software crashes, hardware glitches, to name a few. The advent of journalled filesystems make these hiccups much less of a problem than they used to be, but they still occur.
As with checking your car tyres, it's a very good idea to be proactive about checking and fixing any small issues. Often your computer will continue to run just fine, so you won't know there's anything amiss, and, indeed, they may never cause a problem, but it's much better to fix them before they do... otherwise that one broken link might just cause you to lose something important in the future.
That's why I have an entry in my to-do system for each Mac that we have in the house, reminding me to run a check-and-repair on its main hard disk. These entries reappear automatically 6 months after I check them off. (If your to-do system can't do that, you might want to think about getting Omnifocus.)
Anyway, on the Mac, you don't need any special software to keep things ticking over nicely: you can use the standard Disk Utility program to run these checks, which lives in the Utilities folder within Applications. It've very easy: just fire it up, and on the left you'll see your disks, and the partitions on each disk. Select one, and you can check (verify) or repair the disk layout itself, and the permissions of key files within the partition.
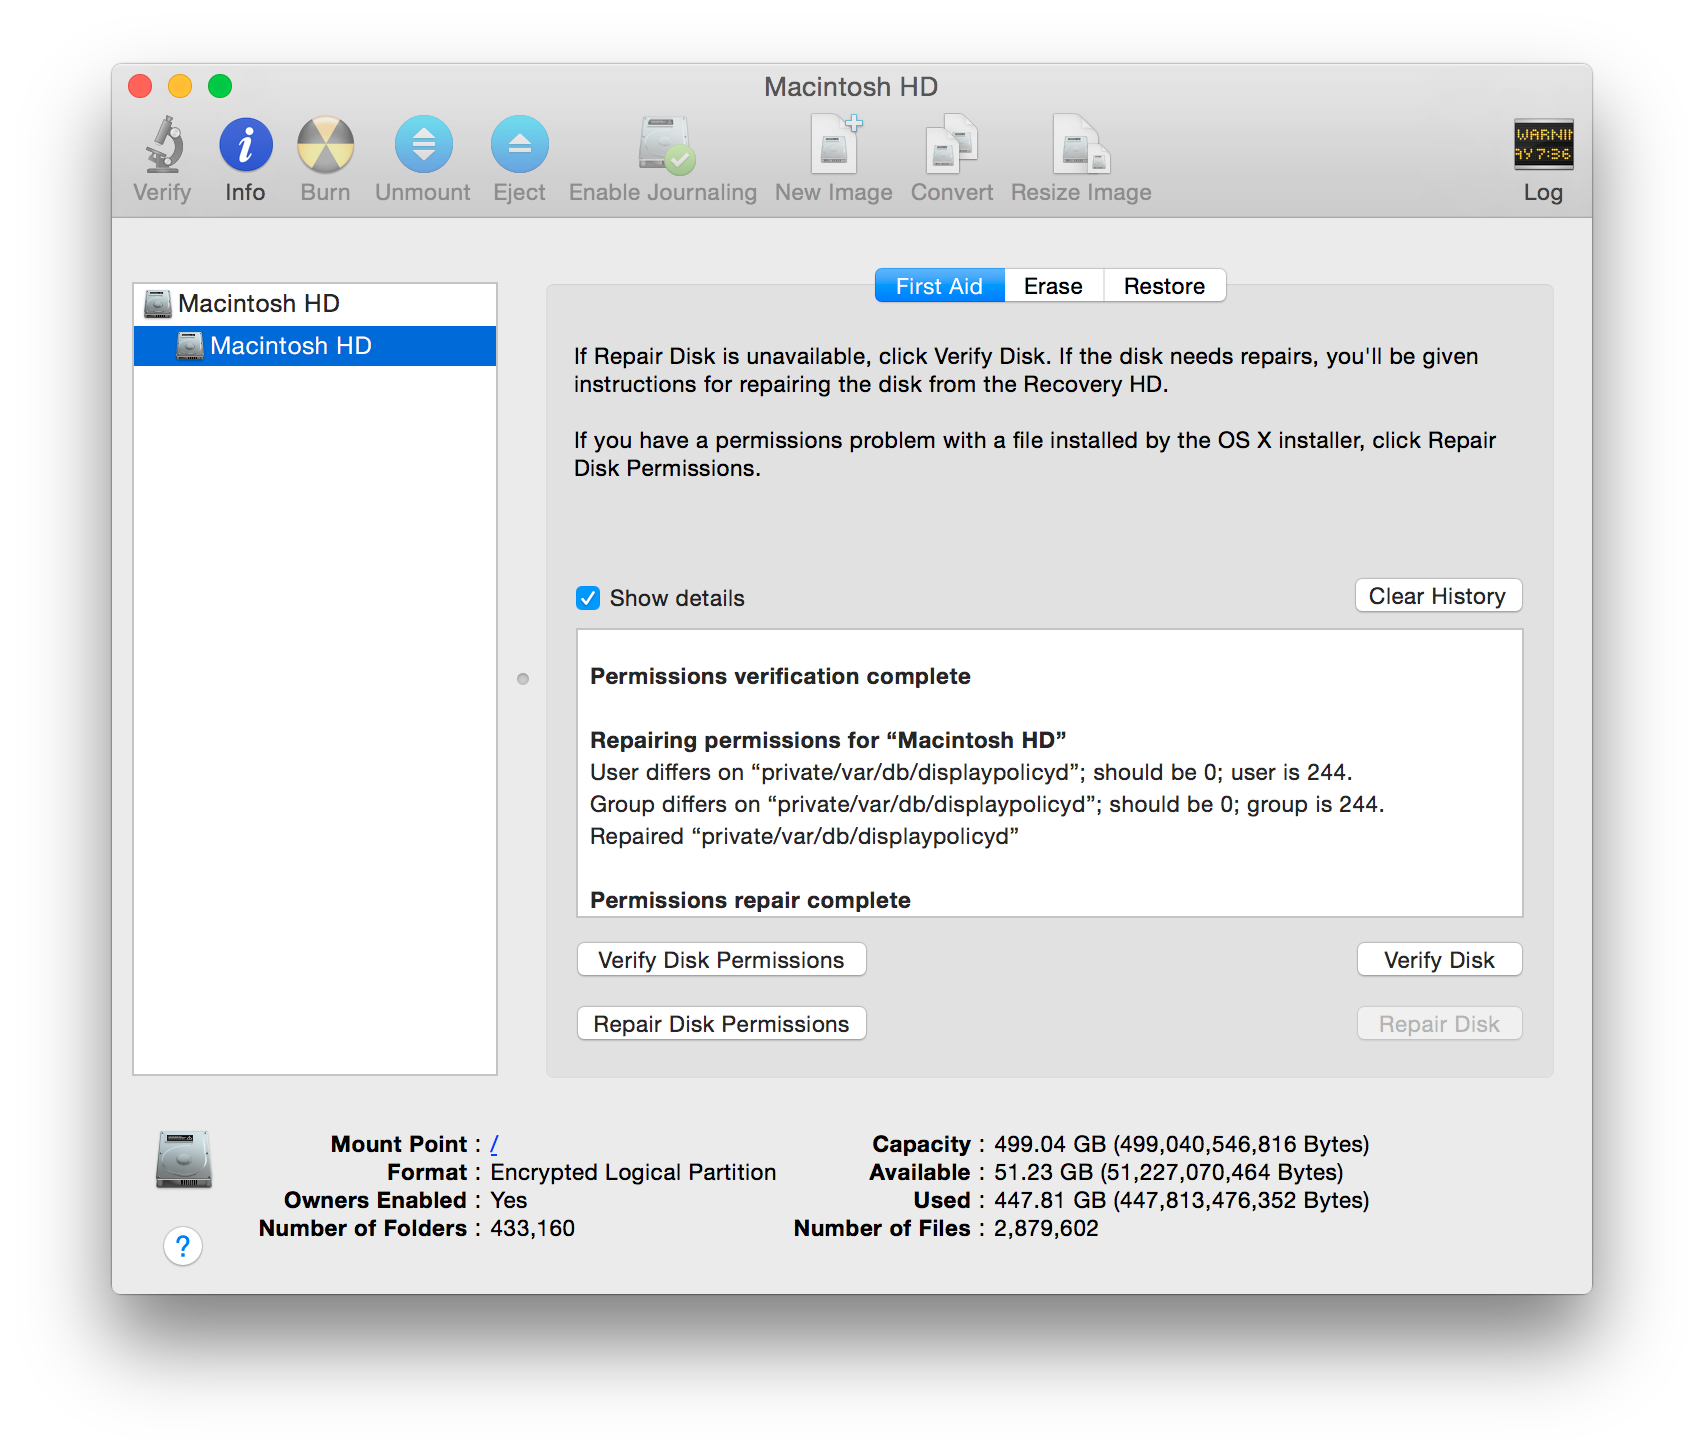
I never actually bother with the 'Verify' buttons: I just hit 'Repair', since that will also do a check, and it won't change anything if the disk or partition doesn't need repairing. I start with Repair Disk, and then follow it with Repair Disk Permissions.
However, there's a trick to this...
The system normally can't do much in the way of repairs on the filesystem from which you're actually running. So you'll probably find that the 'Repair Disk' button is greyed out, as in the image above, and you'll need to boot your Mac from another disk or partition in order to run them. Ah.
Fortunately, however, on recent versions of Mac OS X, this is trivial to do, because you also have a hidden 'Recovery Partition' on the disk, from which you can boot in order to recover from serious problems, reinstall the operating system, restore from backups, etc. And Disk Utility is available there. What's more, it's a good idea to run it from the Recovery Partition anyway, because you'll have nothing running in the background and trying to do backups, sync with Dropbox, or whatever, while you're doing the check.
So, reboot your Mac. Normally, if you hold down the Option/Alt key while it starts up, you'll see a list of places from which you can boot. On Yosemite, however, this probably won't show you the Recovery Partition, so you need to know a new keystroke: Cmd-R. Hold that while booting, and you'll get a menu from which you can run Disk Utility. Run your checks, which normally only take a few minutes, then quit the utility and the parent menu, and you can reboot back into your normal, happy, healthy world.
One last wrinkle. If you use FileVault to encrypt your disk, which I'd recommend at least on a laptop, then you'll need to give your FileVault password before Disk Utility can open the partition and run any checks on it. Just select the partition and click the Unlock button in the toolbar, type in your password and you'll be ready to go.
Regular, scheduled, proactive checks will help keep your Mac happy and healthy!
Comments
Leave a Comment