Mild Curiosity

Quentin Stafford-Fraser's blog
One should always have something sensational to read on the net...

High up in Ely Cathedral...
One man's fish is another man's 'poisson'.
Carolyn Wells
I wrote a couple of days ago about making this blog accessible over IPv6. Most of my readers probably shrugged a gallic shrug and muttered 'À chacun son goût' before moving on to more exciting things like emptying the vacuum cleaner. But wait! This stuff is actually interesting and important, and it will affect you, so here's my attempt to explain what it's all about...
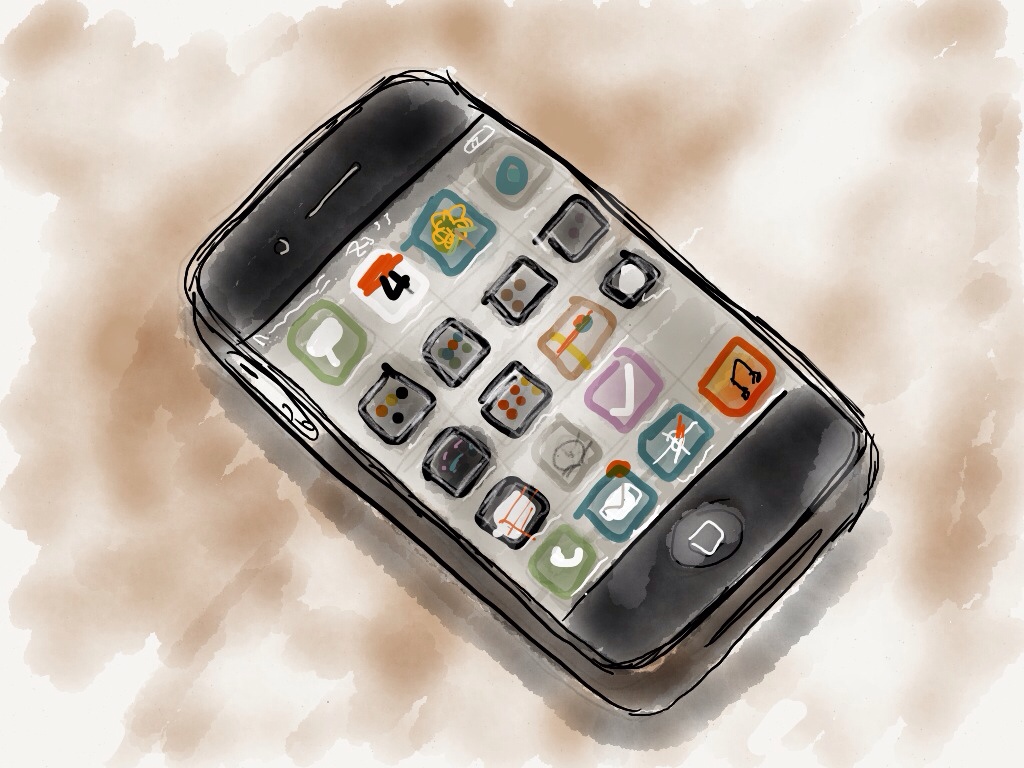
 You probably know the basics. Machines on the internet have an address which looks like 123.45.67.89 - those four numbers represent four bytes, and while four bytes provide rather a large number of addresses, it turns out that this internet thing is rather popular, and four bytes isn't nearly enough. These addresses have been in short supply for some time, and so, while your broadband router will have one, the laptops, XBoxes, smartphones, etc on your local network can't all get an address of their own. Your heating controller, your TV, your electricity meter will soon all want to be connected too. No way, Jose.
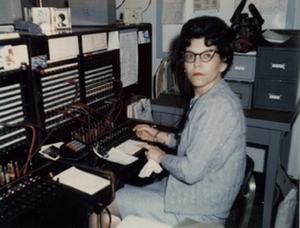
Instead, most networked devices use addresses that are only valid on your local network - a reserved group beginning 192.168... Think of 192.168 addresses as internal phone extensions, rather than proper phone numbers. Whenever your devices want to communicate with the outside world, they do so via a special bit of software on your router called 'NAT' - the 'Network Address Translation' system - that temporarily connects 192.168 internal addresses to real addresses in the outside world. It's a bit like a telephone switchboard operator - let's call her Mavis - who can connect internal phone extensions to a limited number of external lines.
In fact, we can push the switchboard analogy a bit further because, in general, the machines on your network can contact the outside world automatically by the equivalent of dialling '9' to get an outside line. The outside world, however, can't contact you without going through Mavis, and she's very picky about who she'll let through. There are no direct-dial numbers. This has some real benefits: it can keep pesky salesmen at bay. But it also makes it really hard for your spouse/lover/next-employer to get in touch with you for more delightful discussions. Mavis gets rather too involved in those... And remember, we're not just talking about the office, here. Mavis is also in your sitting room at home.
The interesting thing is that we've been in this situation for so long that we accept it as normal. Most of us have had NAT for as long as we've had broadband connections, and it has fundamentally affected the way we think about the internet and what it can do for us. We'll come back to that in a minute.
Despite all of the above, we might have gone on employing Mavis for quite a while, if it weren't for a much bigger problem looming on the horizon: we're running out of addresses even to give to the routers. Not much point in having an efficient switchboard operator if there are no outside lines! Your ISP has to manage the IP addresses it hands out carefully and make sure there aren't too many unused ones lying around. If your internet connection uses DSL, for example, you may find that your router's IP address - the phone number of your outside line - changes fairly regularly as a result, so there's little chance of your spouse/lover/next-employer being able to talk to Mavis even if they wanted to!
This is the basic problem that IPv6 is designed to fix. In the future, internet addresses will be made up not of 4 bytes, but of 16, which gives a wonderfully huge number of addresses, and every connected device in the world can have one (or indeed, several, which often proves useful). IPv6 has some other useful features too, but this is the most important.
IPv6 addresses are the equivalent of 39-digit phone numbers, so they're less convenient if you actually have to type them in! To make them a bit more manageable, they are written as eight groups of 4 hexadecimal digits, which makes them look a bit strange and scary to anyone who's just getting used to addresses like 192.168.0.1.
In reality, most people will almost never have to type, or even see, one, but I know that Status-Q readers are a smart and intelligent bunch, so to satisfy your curiosity, here's an IPv6 address:
2a00:1450:4007:0802:0000:0000:0000:1014
By convention, when writing these, you can leave out any leading zeros in the groups, and also any single sequence of groups consisting entirely of zeros, so the above can be abbreviated to:
2a00:1450:4007:802::1014
There you are. Now you can recognise IPv6 addresses when you see them, but you'd probably much rather deal with
ipv6.google.com
which resolves to the same thing: the DNS can hand out IPv6 addresses in just the same way as the old IPv4 ones.
One last thing before we get back to the big-picture stuff: there are some address groups set aside for specific uses. Addresses beginning fe80::, for example, are the equivalent of 192.168 addresses - they are just designed to work on the local network. A device will have at least one of these automatically, as well as any global addresses it may have been allocated.
In fact, if you have a reasonably recent operating system, you've probably got one already on the machine you're using now, though you may need to burrow a bit into your network configuration to find it. (On a Mac or Linux box, run 'ifconfig' on the command line. On Windows, you need to enable IPv6 first and then use 'ipconfig'). So you can already use utilities like 'ssh' and 'ping6' to talk to other machines on your network using these addresses, even if not to the outside world.
I'll do a more technical post about this soon for those who are interested. But for now...
Here are some things that we've just come to assume are a bit difficult:
All of these things can of course be done at present, but they usually involve special expertise, or services like Dropbox, GoToMeeting, DynDNS or Skype, which have grown up largely to deal with the fact that, in general, you can't just connect to other machines on the internet because they don't have a globally-accessible address. Sometimes it's a case of going and having a polite but firm word with Mavis to say that she really must allow certain calls through. In other cases, it's much more complex. The electricity company could easily put a smart meter in your house, for example, so they don't have to bother you so often, but they'd have to speak to every Mavis in the country. A daunting task, I think you'll agree. And then there are other systems like uPnP that are used by games consoles, for example, to sneak behind Mavis's back and do a little wiring of their own just to make it easy to play games with your friends. All rather messy.
 In the early days, you could assume that two machines which were connected to the internet and switched on could just talk to each other. All sorts of things were much easier back then. Now, there may, of course, be many reasons why you don't want people to be able to connect to all of your devices, even if they have passwords and firewalls, but the important point is that this should be something that you can decide: it should be a question of policy, not one of capability. At the moment, you generally can't get an internet connection at all without employing Mavis, and that just makes everything so much more difficult. But when everything is connected by IPv6, a lot of things at least become possible, maybe even easy. (And a lot of businesses may have to think about their business models.)
This is why you want to encourage your ISP to support IPv6 as soon as they can. They've known about it for a long time, and it's been rigorously tested. In a future post, I'll write about how you can bypass both Mavis and your ISP if you want to start using this now. But at least, I hope, you understand why it is more important than simply a change of phone number.

Thetford Forest this afternoon
A tip for Mac users: The Library folder in your home directory contains miscellaneous preference files, support libraries etc, and most normal users seldom need to touch it, which is why it is hidden by default in Mac OS X Lion. The standard way to get to it, if needed, is to hold down Option while clicking the 'Go' menu in Finder, and it'll appear among the list of destinations.
If, however, you're not a 'normal user' you may wish to make it more visible, and this turns out to be very easy. Just open a Terminal window and type:
chflags nohidden ~/Library
And you should then see it in your Finder just like any other folder.
Thanks to MOApp for this one.Well, IPv6 has now been officially launched on the world, and this is a quick note to let you networking geeks know that Status-Q is now IPv6-enabled. You may be connecting that way already, and in theory you shouldn't be able to tell, because www.statusq.org has both an IPv4 and IPv6 address and your browser will use whichever one it prefers. I'm going to write a bit more about IPv6 soon.
But if you want to check whether you have IPv6 connectivity to here, you can try going to
which is an IPv6-only address. It probably won't work yet for most of you. UK ISPs are being a bit slow on the uptake and, to be fair, with some reason: it's a big change. So if you want to get IPv6 connectivity at home you may need to jump through quite a few technical hoops (and I'll write soon about how I did it). But they'll have to support it eventually, and most modern operating systems handle IPv6 out-of-the-box and have done for some time, so once the connectivity is there, everything just works. A very handy site, if you're playing with this is which will tell you what your connection and browser can do. More on this topic soon.I finally got a chance to play with my RaspberryPi, so I threw together a quick experiment.
Update: A few people have asked me for a little more information. I'm happy to make the source code available, but it's not very tidy and a bit specific to my situation... however, to answer some of the questions:
The enclosure for the Raspberry Pi comes from SK Pang Electronics, and it's perfect for my needs. You can buy just the perspex cover, but they do a nice Starter Kit which includes the breadboard, some LEDs, resistors and the pushswitch. Definitely recommended.
For the graphics, I used the PyGame library, which has the advantage of being cross-platform: you can use it with a variety of different graphics systems on a variety of different devices. On most Linux boxes, you'd normally run it under X Windows, but I discovered that it has various drivers that can use the console framebuffer device directly. This makes for a quicker startup and lighter-weight system, though I imagine it probably has less access to hardware acceleration, so it's probably not the way to go if your graphics need high performance. You can read about how to get a PyGame display 'surface' (something you can draw on) from the framebuffer, in a handy post here.
To load an image from a file in PyGame is easy: you do something like this:
im_surf = pygame.image.load(f, "cam.jpg")
where 'f' is an open file, and the 'cam.jpg' is just an invented filename to give the library a hint about the type of file it's loading.
Now, with a webcam, we need to get the image from a URL, not from a file. It's easy to read the contents of a URL in Python. You just need something like:
            import urllib
            img = urllib.urlopen(img_url).read()
but that will give you the bytes of the image as a string. If we want to convert it into a PyGame surface, we need to make it look more like a file. Fortunately, Python has a module called StringIO which does just that: allows you to treat strings as if they were files. So to load a JPEG from img_url and turn it into a PyGame surface which you can blit onto the screen, you can do something like:
          f = StringIO.StringIO(urllib.urlopen(img_url).read())
          im_surf = pygame.image.load(f, "cam.jpg")
I'll leave the remaining bits as an exercise for the reader!
If you like this, you might also like my CloudSwitch...